FLU installation and update
Fluentis Live Update is the new Fluentis installation and update management tool introduced with version 539. This tool replaces and replaces the previous installation and update procedures for Fluentis and ARM products, which will no longer be available. The product supports versions starting from 538. To upgrade a previous version you will have to contact the support service to convert the database.
Framework
Fluentis Live Update consists of two parts, the web app and the installer. The first is the user interface with which you can configure and execute the commands and must be installed only in the location from which you want to control the program. The second is the executive part and must be installed on all servers that must be controlled by the program, including the workstation where the web app is installed.
The program is equipped with its own database, if you plan to install the web app in a location other than the server with the SQL Server installation, you must first install the database to make it work.
Both the web app and the installer rely on an IIS pool to function, so this functionality must be present on all servers where they are installed, including the server with the SQL Server installation. The technology used is .NET Core, the installer will install the runtime if necessary.
Setup program
It's possible to download the installation program from the Products folder located in the Fluentis FTP area, once the compressed file has been unpacked the folder will appear as in the following image:
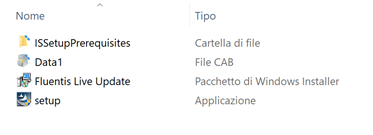
The installer must be launched by running the setup file.
At start-up, the installer checks for if the requirements are satisfied and, if necessary, proposes their installation.
If the .NET Core component is installed before IIS functionality is activated, it will not detect it correctly.
In this case, force the reinstallation of the component by recovering it from the ISSetupPrerequisites folder.
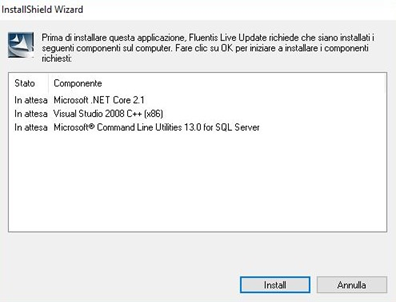
Premere su Install, accettare tutti i contratti di licenza proposti fino al completamento dell’installazione di tutti i prerequisiti.
Installation
After the installation of the prerequisites, if required, the installation of the Fluentis Live Update starts.
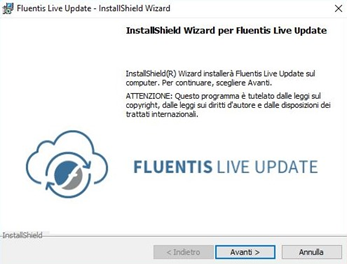
By pressing Next and accepting the license agreement of the program, it is possible, by selecting the type of customized installation, to choose which packages to install and on which folders.
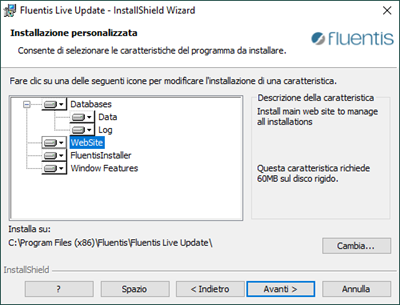
If the server with the SQL Server installation is on a separate machine, the database must be installed separately, in this case select all options except website.
In any case, to install the program, perform a complete installation, if the database is already present it will not be installed again.
To install the program on a server that must be controlled by the product, select the FluentisInstaller in addition to Window Features which in general is always required.
Summing up:
- If there is a single server, install all the components of the image above.
- If there are 2 servers, 1 for sql and 1 for the web part, install everything except database in the web server and everything except website in the sql server
- If there are 3 or more servers, install everything except website on the server where the FluentisLiveUpdate database will be. Install everything except website on the sql server, install everything except database on the web server. On other servers, always install everything except databases and websites.
Installation parameters
In the image below, the parameters required by the installation.
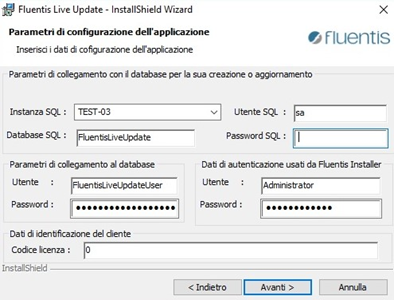
In the top box, you must specify the name, location and user required to install the product database, or where it was previously installed, always enter the sa user credentials, to avoid having permissions problems when creating the database.
In the middle box, the user connecting to the database must be specified on the left side (which there is no reason to change) and on the right the user with whom the commands given to the FluentisInstaller must be executed; with this user administrative commands will be executed for which it is necessary to have the widest permissions on the server.
Finally, in the lower box it is possible to specify the customer's license, if present this license will be shown on all installations that will be made with the product.
First startup
At the end of the installation you will find yourself, in addition to the database, with two new pools and two new sites in IIS.
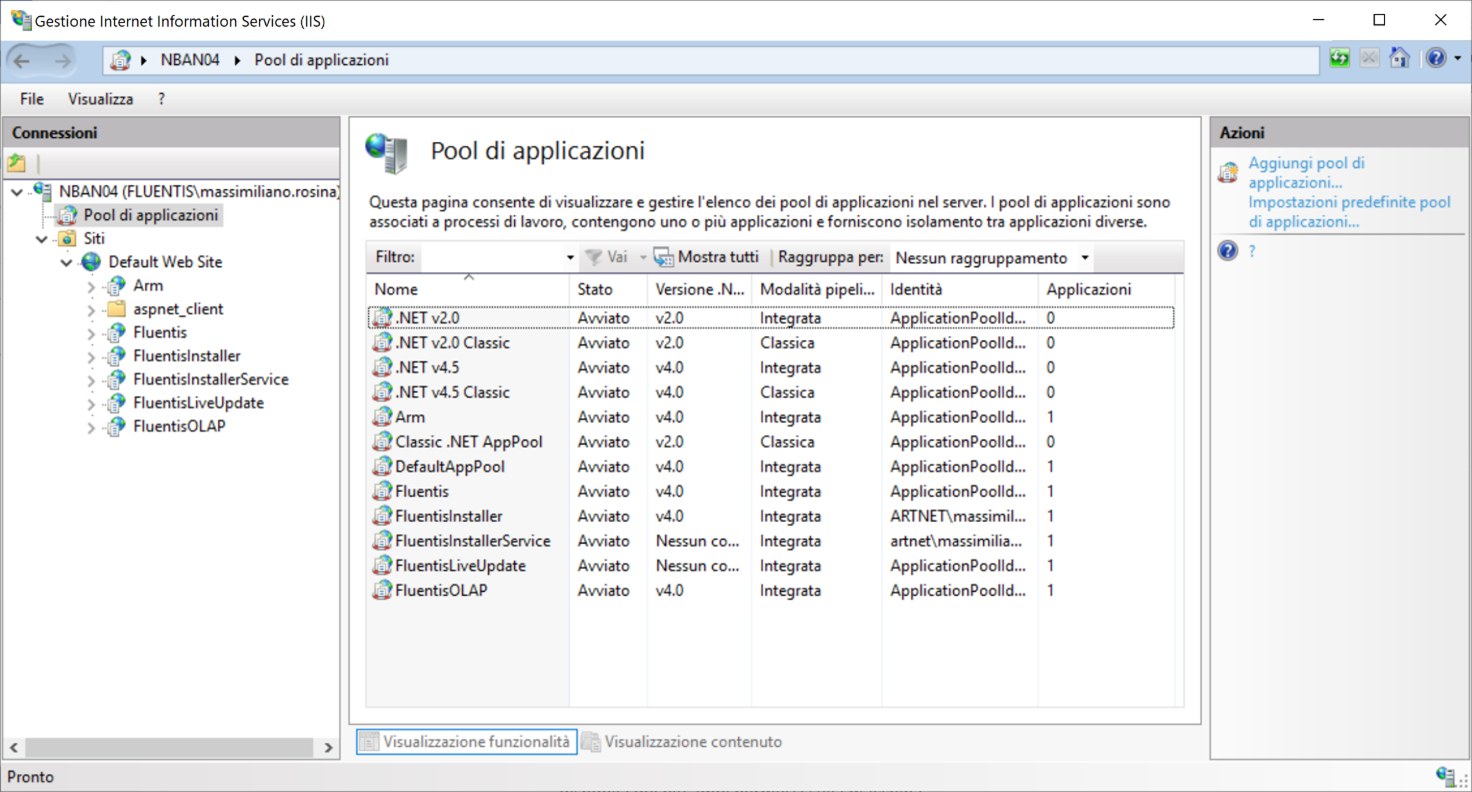
The configuration site and FluentisInstallerService are made available only in the machine from which the product is controlled, on all the other machines it is the executive part.
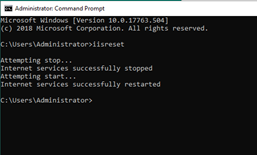
To make these new services fully operational, run the IISreset command from a command prompt launched with administrator rights.
In addition, a new icon will appear on the desktop that will take you to the web app, at http://localhost/FluentisLiveUpdate.
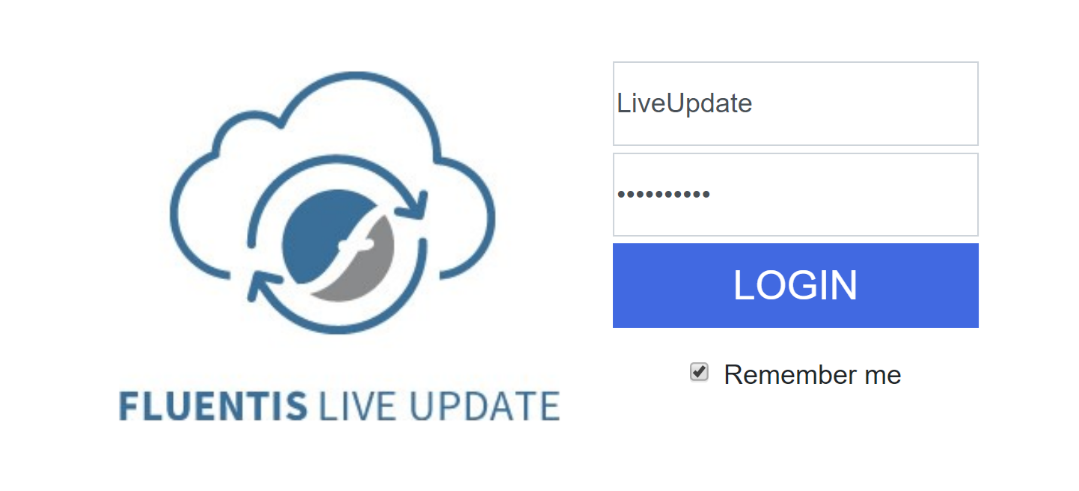
Internet explorer is not supported, we recommend setting Firefox, Chrome or Microsoft Edge as default browser.
FLU Settings
The Settings page, the last one at the bottom of the left side menu, allows you to change the program settings. In particular, here it is suggested to change the LiveUpdate download folder from C: \ Temp or the one that is set by default to one of your choice. This is to avoid that, in a moment of lack of disk space, the cleaning of this folder brings with it the cancellation of the repository. After performing this step restart the pools and move the files already downloaded from C: \ Temp to the new location.

FLU Licenses
In this page you can insert a Fluentis License that will be put directly in the database when you install an environment. You can also just leave it blank and insert manually from ARM.
Enviroments
On the Enviroments page you can specify the installation geometry of the Fluentis instances, and it is initially empty. To proceed with a new installation click on Propose-Default. In this way, FluentisLiveUpdate automatically proposes the most common data for pools and databases. If there are already configured instances, the Propose-Default button is no longer available.
If you use the Propose-Default function it is useful to review all the parameters automatically set by the program, so that they coincide with what you intended to set.
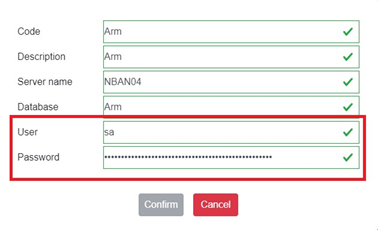
In particular, it is necessary to correct the user set on the Arm and Fluentis databases by replacing it with "sa" and its password as the automatically entered users do not have sufficient permissions to perform all the operations provided.
FLU Autoupdate
FluentisLiveUpdate has a self-update feature that starts up autonomously.
Before proceeding with the installation of Fluentis wait for the FuentisLiveUpdate to be updated to the latest version.
The self-update is performed only after the related installation files have been downloaded to the repository, so it may take several hours / minutes depending on the connection speed.
To check if FluentisLiveUpdate has been updated, refresh the page and log in again.
Manual update for FLU and InstallerService
First check through the repository that it has downloaded the latest version.
Then it must be remembered, that both components must be updated:
- Installer Service
- Fluentis LiveUpdate
They must also be updated in this order, as long as the installer service is not updated, FluentisLiveUpdate will never update itself. In addition, errors will occur if the two components are not installed to the latest version before installing / updating Arm / Fluentis.
To see the version of the InstallerService, launch this link http://localhost/FluentisInstallerService/Api/install/Getversion.
By setting the server name, if different from the local server. On the video we will see the version as shown in the image below:
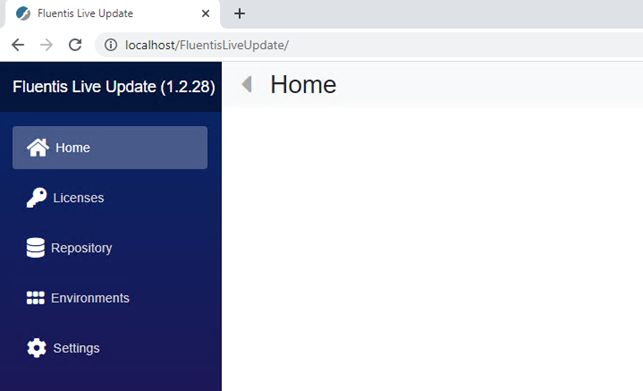
For the Fluentis Live Update, on the other hand, just be logged in to see the version.
When to proceed with the manual update?
- When I see any other value or error instead of a number from the link for the installer service version
- When I see the "503 service unavailable" error when I try to enter LiveUpdate and I have already tried to start the pool which is off but has turned off again.
- When the new releases for the two components have been downloaded and it does not auto-update within 10 min
To update manually as mentioned before, let's go in order.
First the Fluentis Installer Service then the LiveUpdate.
Open the repository folder:
Open the FLU_INST folder (the Installer Service one), and select the latest version available (folder with the largest number):

Inside we will surely find an Updater_xxx-zip folder that we could ignore in case of manual update, and also a FluentisInstaller_xxx.zip folder that contains the updated dlls.
Take the contents of this folder and paste it, overwriting if the message appears, in the installer service folder. Usually the folder is here C:\Program Files (x86)\Fluentis\FluentisLiveUpdate\FluentisInstallerService.
Once copied, there is the DotNetCore_xxx.zip folder. The setup inside it must be run twice the first time by clicking install the second by clicking restore in this way it will not be necessary to restart the server. If you get an error “No action has been taken” it means that it has been installed correctly.
After installing the .NET Core if present, or other prerequisites, launch the link to get the version.
http://localhost/FluentisInstallerService/Api/install/Getversion
If the link returns the value of the latest version, you can switch to the FluentisLiveUpdate update, otherwise if it returns an error, the above steps have not been performed correctly. If, on the other hand, it returns "update in progress" then in the installer service folder there is the FluentisUpdateInProgress file, the link must be deleted and relaunched. If there is that file, it means that the installer service has tried to update itself.
To update the FluentisLiveUpdate manually, go to the bin folder of the FluentisLiveUpdate, usually located in C:\Program Files (x86)\Fluentis\FluentisLiveUpdate\Bin
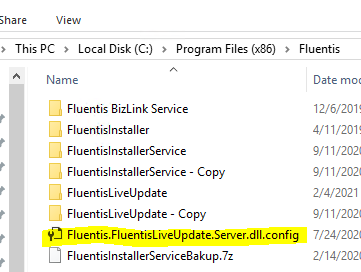
A file must be backed up which contains the configuration string to the database. The file is called Fluentis.FluentisLiveUpdate.Server.dll.config.
Take this file and copy it out of the folder so that after it is overwritten you can put the correct file back in the folder.
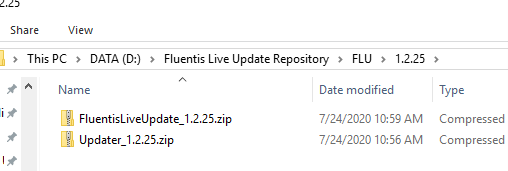
Now go to the repository folder, inside the FLU folder and take its contents and paste it, overwriting if the message appears, in the FluentisLiveUpdate bin folder.
Once the FluentisInstallerService and FluentisLiveUpdate have been updated to the latest version, it is possible to proceed with the installation of Fluentis and ARM. See the next article for more information.