Setup Test Environment
A test environment, as the name suggests, is used to test the new version and reduces the possibility, that there will be problems when you proceed to update to a production environment.
The tests must be carried out whether the customer does not have customizations to fill out, whether they have for the reason mentioned above.
By tests to be carried out, we mean the tests of the functionality that the customer uses. An advice is to take some time to replicate the same behavior that could be made in the production environment and replicate it in the test environment. Finally, if the customer has customizations, it must be checked that all works correctly.
Once these tests have been carried out, it is possible to update the production part.
Environment setup within Fluentis Live Update
Setting up the test environment in Fluentis Live Update is very similar to the production one.
Let's see it in detail:
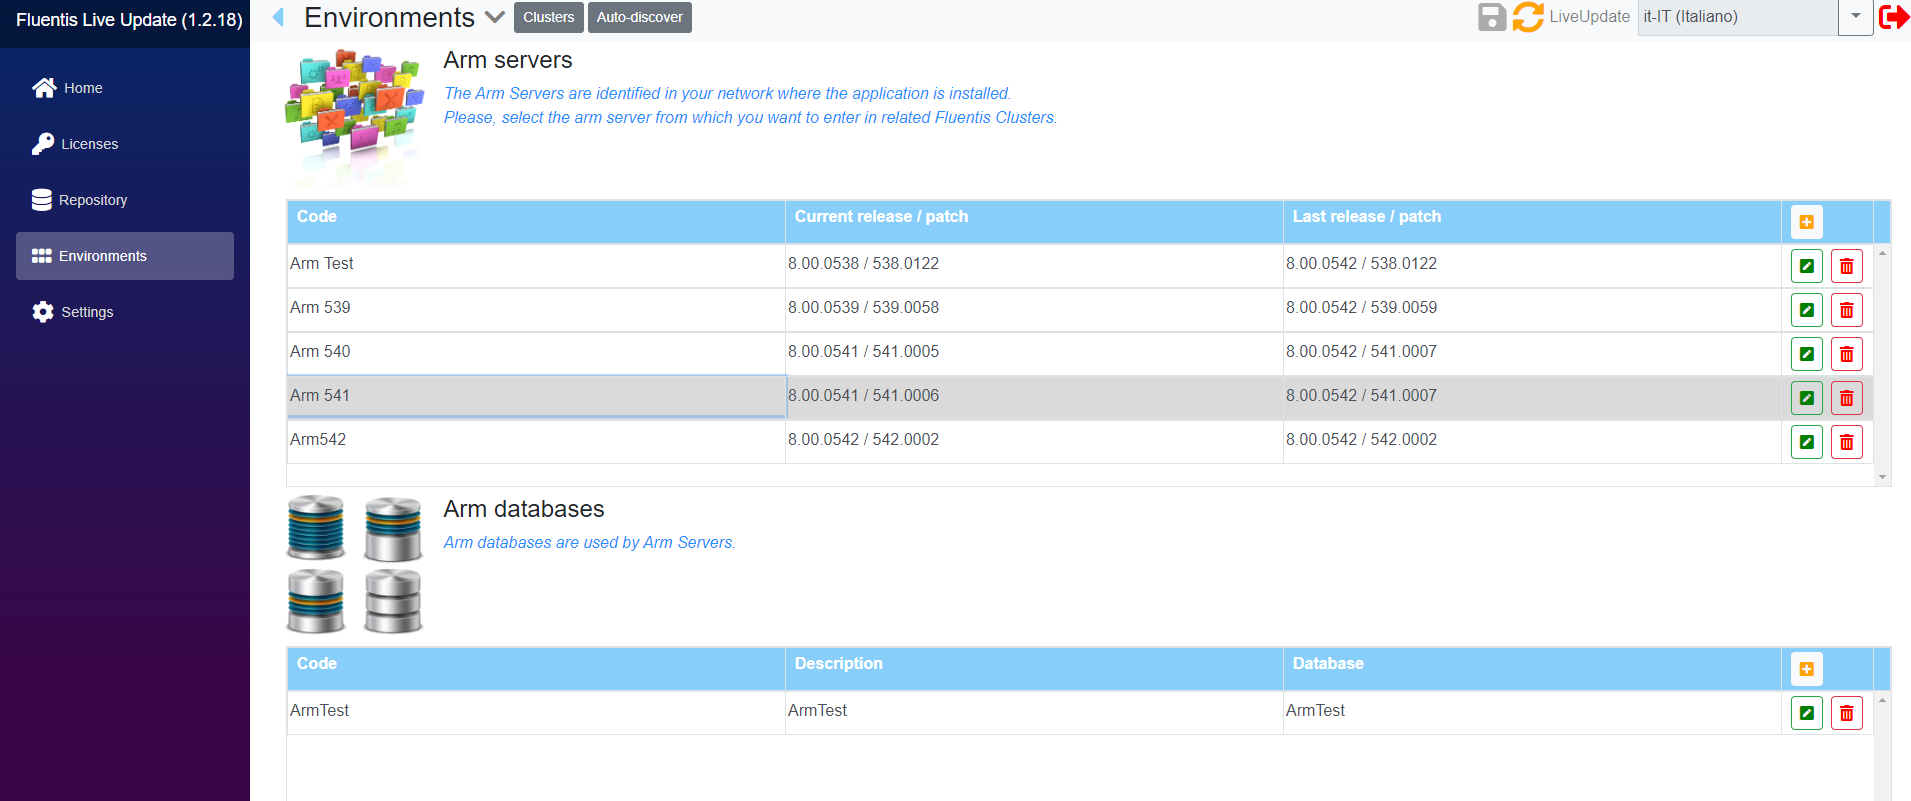
Let's open Fluentis Live Update and go to the Environments to set up ARM first.
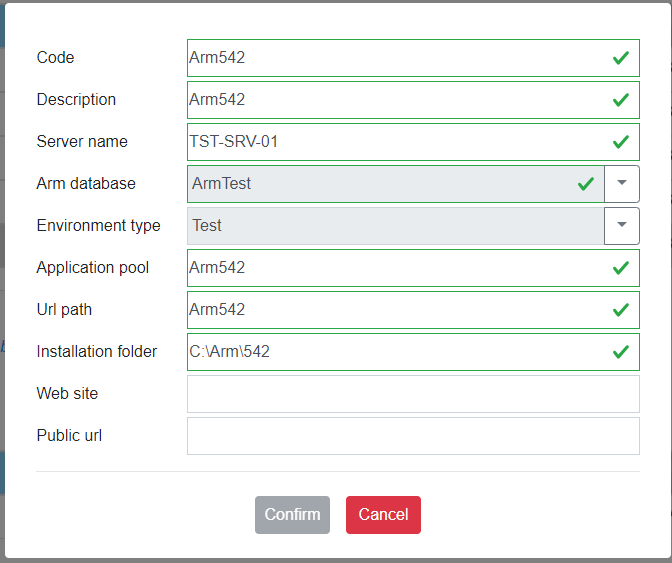
As ARM database we can always use the same one (see figure below). Then we should have two arm servers, one for production and one for testing. This step is necessary because when we update the version we will have the part of production to a previous version (compared to the test) while the test will be to the new one version.

Now to set up the test environment, you can also set it up on another server to avoid resource/space consumption, just have installed the FluentisInstallerService (to do it just use the Fluentis Live Update setup), otherwise use the same server.

We must be careful to use another pool, code and another folder of installation with respect to the production part. As an environment type we set up tests.
Once the ARM part has been set, let's move on to the Fluentis cluster part and the procedure will be similar, being careful to put the same precautions into practice.
Finally we are going to connect a database. And here is the important part, that is, the database will be a restore of the last backup of the production one. Obviously to take up less space we can use the following script below which eliminates documents/logs that are not required for updating.
To clenup, run this SQL query:
Run this script only on test databases.
 delete from dbo.MB_Locks;
 delete from ARM.LOG_Reports;
 delete from ARM.LOG_Forms;
 delete from ARM.LOG_Properties;
 delete from ARM.LOG_Objects;
 delete from ARM.LOG_BizLink;
 delete from dbo.PG_TMP_ForOCLFiltro;
 delete from ARM.LOG_Sessions;
 delete from Fluentis.BZ_BOImportExportLogs;
 delete from dbo.BZ_DocumentObjectLog;
 delete from dbo.BZ_DocumentLog;
 delete from dbo.BZ_DocumentObjects;
 delete from dbo.BZ_Documents;

 delete from dbo.DOC_DocumentsContent
 delete from fluentis.SDI_DocumentLog
 delete from fluentis.SDI_DocumentAttachments
Setup a new ARM connection
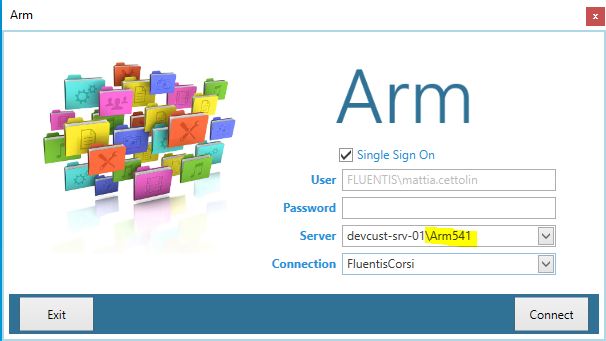
At this point everything must be configured in ARM. To verify this we are going to open the ARM client and login but in the Server parameter we are going to write after the '\' character, the correct ARM pool as the example in the figure:

If the connection has not been created, we connect via ARM to the production connection and add it manually. This must be done by clicking on connections.
The missing line must be added, then connection name, server name, user and password to connect to the database (it is recommended to use a known user, to avoid permissions problems). Finally, the Fluentis server URL must be set like this: http://[fluentis_server_name/[pool_name] (replacing the placeholder values).
If the connection has not been created, we connect via ARM to the production connection and add it manually. This must be done by clicking on connections.

Once these checks have been made, it remains only to verify the license, so click on license.
If we already see the test environment created, we can already try to click update license otherwise we are going to add it manually.
To add it just specify what we have already written in the Fluentis Live Update that is the name of the physical server on which the ARM and Fluentis pools are installed and the URL which usually corresponds to the name of the pools for simplicity.
If everything is written correctly by clicking on Update License, it should tell us the License Updated message.
The license must be updated in all environments so in all connections, it's recommended to start doing this from the production environment to avoid blocking the client. The license must be identical in all environments.
Now you can use the test environment.
Summing Up
All the steps mentioned so far must be done only once when the environment is installed test then simply do the following. With each version update that will be made, just hook the last backup of the production database and finally proceed with the update via Fluentis Live Update. Once the tests have been carried out, proceed to production. If there are any errors during the update with the Fluentis Live Update you would time to correct them and save the scripts in order to reduce update times as well as the possibility of encountering errors.
Once the test environment has been installed, it is advisable to have two Fluentis clients, one for testing and one for production, this to avoid .dll mismatches.